How to: Reinforce a Crappy WalMart Bookcase OR How to Fix Sagging Shelves
When Orion and I bought a bookcase from Walmart, we bought it because we wanted to store our books on it. The low, low $35 price tag should've tipped us off to its obvious shortcomings, but I'm sure this mistake has been made many a time before. The shelves, made of weak particle board, started bending in the middle immediately, even when we kept the actual books towards the edges of each shelf. Note the sagging:

So if, like us, you would like your bookshelf to actually be able to hold books, go through the following steps.
You will need:
One crappy WalMart bookcase.
Someone willing to use a drill

One ~3" wide board, cut to the height of your bookshelf (floor to top)
4 L-brackets, the color of your bookshelf (these will be visible)
Screws to secure the brackets* (See Very Important Footnote)
Six 1 1/2-inch screws to secure the board
A Drill
The extras all cost us about $20 at Home Depot. Not too shabby.
First, make sure your board is the exact height of your bookcase, floor to top. If it is the wrong height, you might throw your bookcase off balance, which would be bad.
Part I) Securing the board to the back of your bookcase
1. Remove shelves from bookcase
2. Place bookcase face down on floor, so that the back of the case is up
3. Place board on top of the bookcase in the exact center

4. Using a level, align the bottom of the board to the bottom of the two sides of the bookcase
Note: it is VERY IMPORTANT that this be done exactly or your bookcase will be wobbly and may fall over, even if anchored to the wall.

5. Using your 1 1/2" screws, secure the board to your bookcase in three places:
i) First, secure to the bottom shelf

ii) Walmart bookcases come with the second shelf secured to the sides. It is the only shelf that actually holds books and that is available to drill into to support your board. Do so now, using two screws.

iii) Finally, using two more screws, attach your board into the top of the bookcase.

Part II) Reinforcing your shelves
1) Flip your bookcase over so that you're looking at the shelves

2) Put in shelves where you want them to be. Once you screw in the brackets, the shelves will no longer be adjustable, so make sure you have them where you'd like them permanently.
3) Place one L-bracket under each shelf, directly in the middle of the bookcase. This will mean that the L-brackets are on top of the board, which you just attached to the back of the bookcase.

4) Get your drill back out and drill the screws into the bottom part of the L-Bracket, securing them to the back of the bookcase BUT NOT TO THE BOTTOM OF THE SHELF or you will have a nasty screw poking up through the shelf.
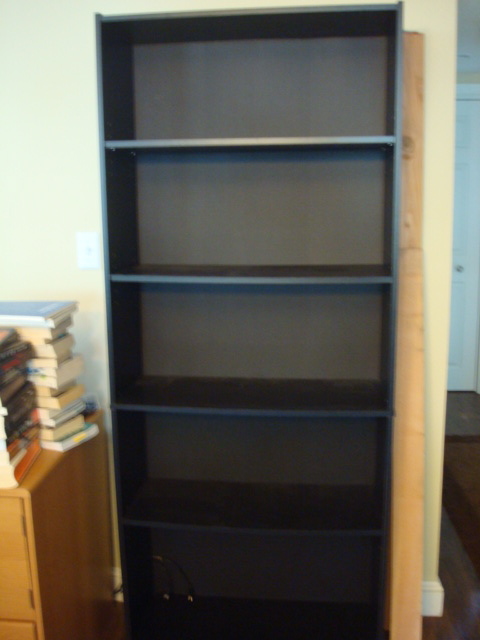
5) Stand your bookcase back up, this is what it should look like now:

Now your brackets are poised to hold up the saggy part of each shelf, and are attached to the board on the back of your bookcase.
6) Anchor your bookcase to the wall
Replace your shelves and fill with heavy things, including BOOKS!

Ta-da! Your crappy bookcase is no longer so crappy. We did this over a year ago and have not had any saggy shelves even though we use it for very heavy books.
Good luck!
*Make sure the screws you use for your L-brackets are no longer than the thickness of your supporting board (my board was about 1 inch thick and the screws were 3/4 inches long). If the screws are longer than the board is thick, they will poke out the back of the bookcase and could possibly lead to an interesting new type of flooring.